Start with a frame
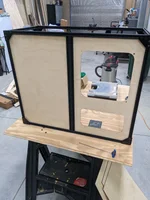
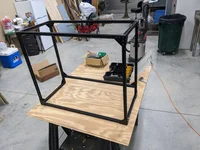
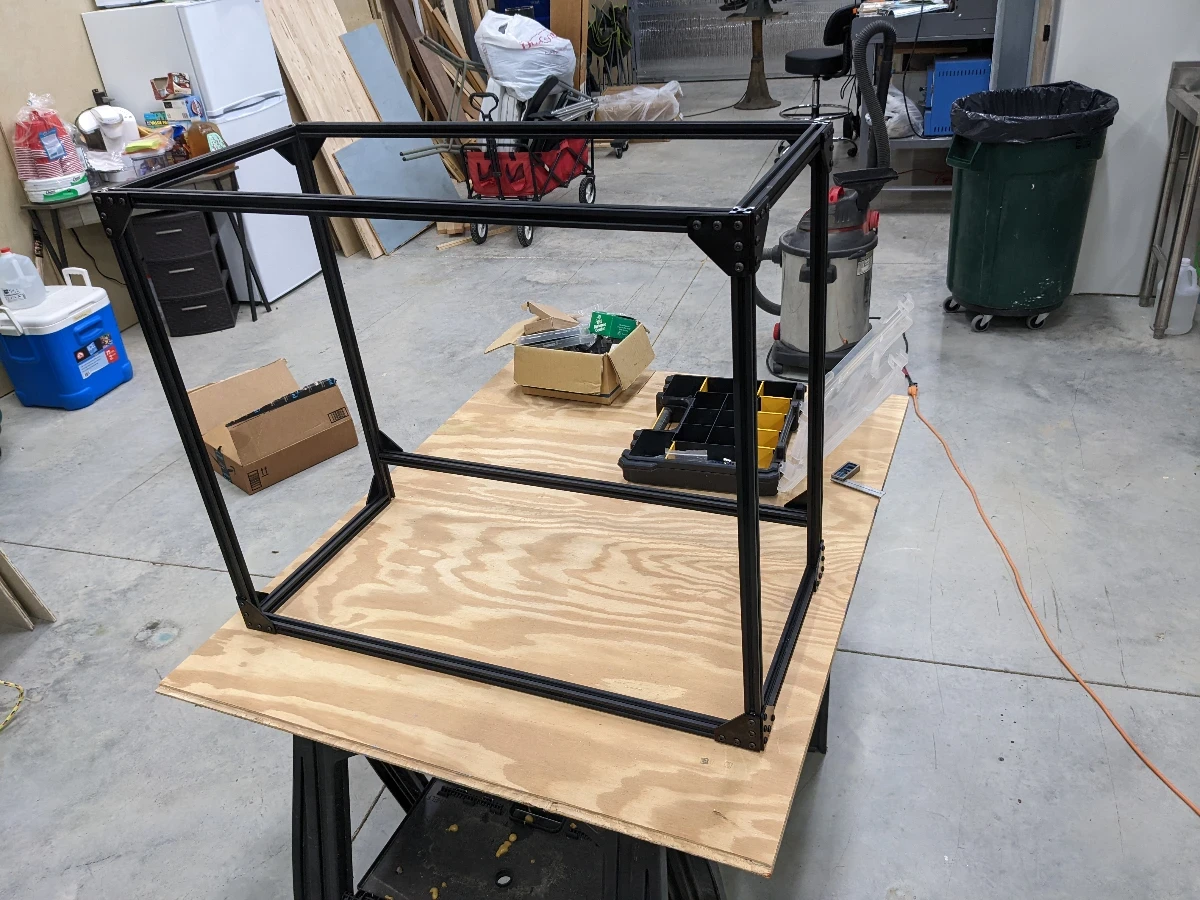
We start with a basic frame of 2020 aluminum extrusions
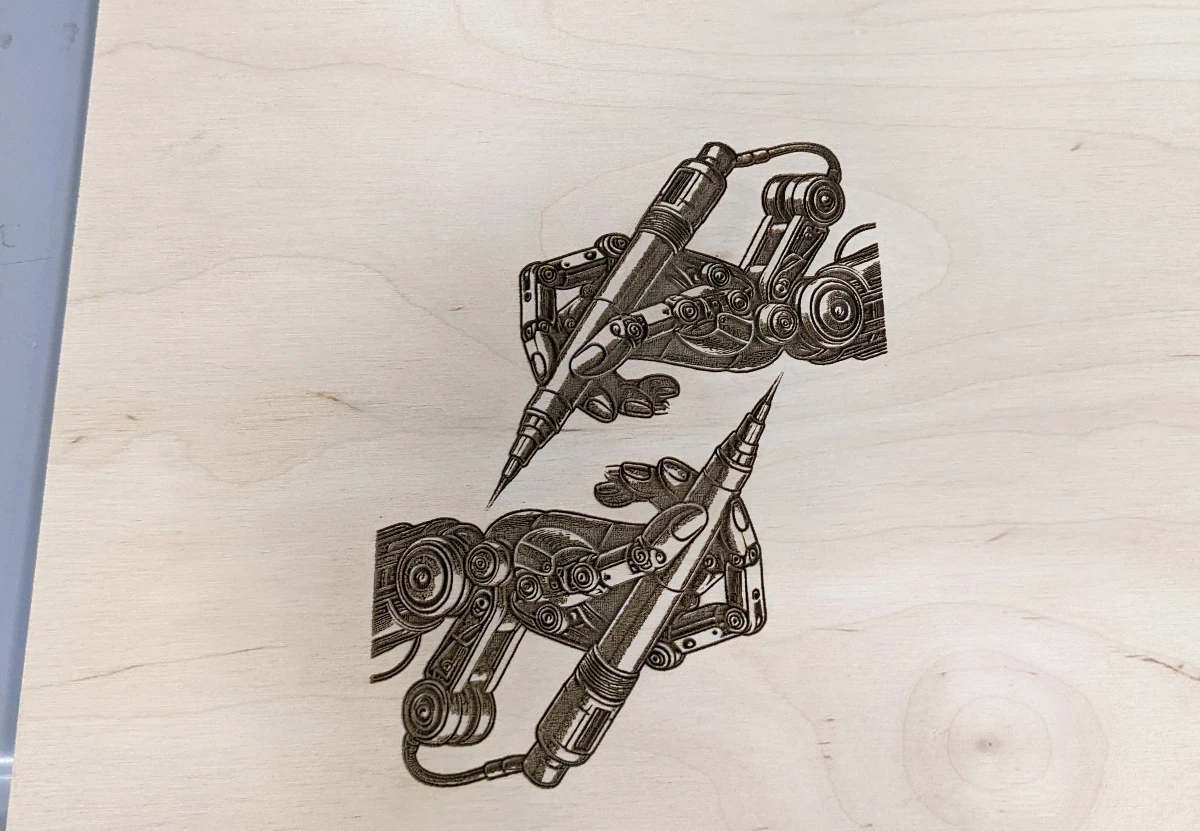
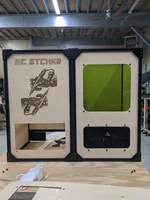
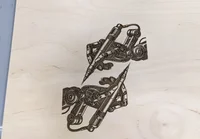
A logo for the bot
What comes next? Of course we need to have a logo before we can work on anything productive.
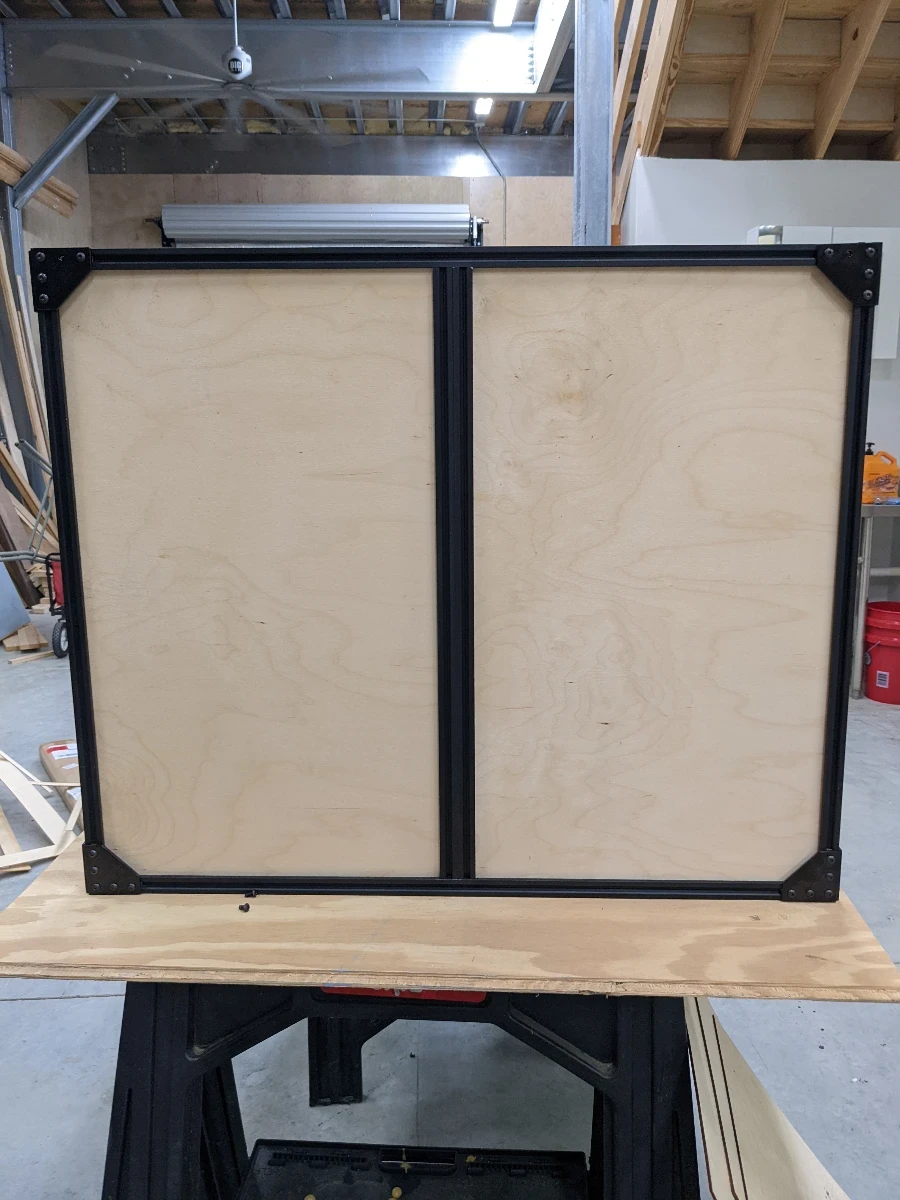
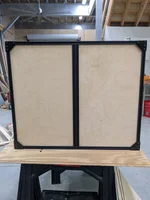
Adding panels to the frame
Testing size of 3mm baltic birch plywood to add as the sides of the bot.
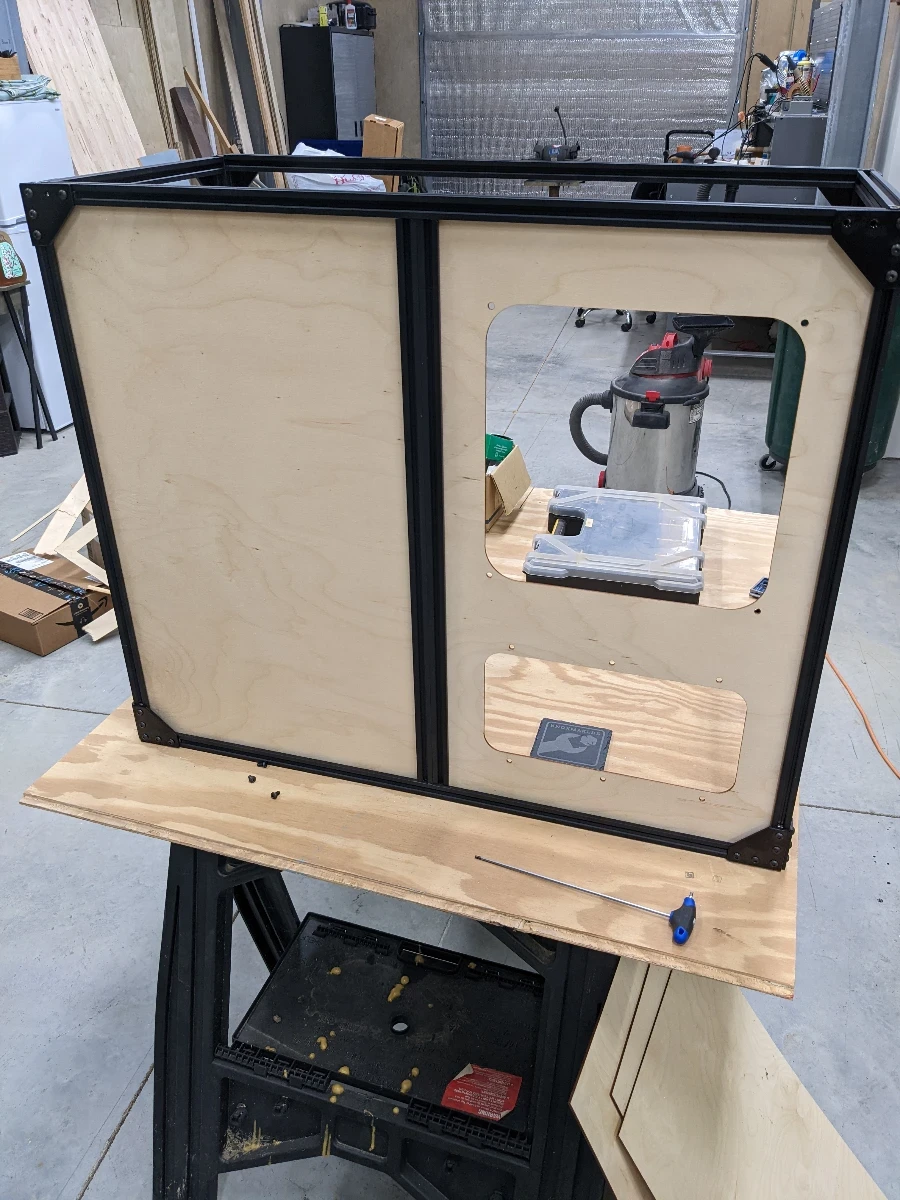
designing the panels
Spent time designing the panels. The users need to see what's going on but also not lose an eye.
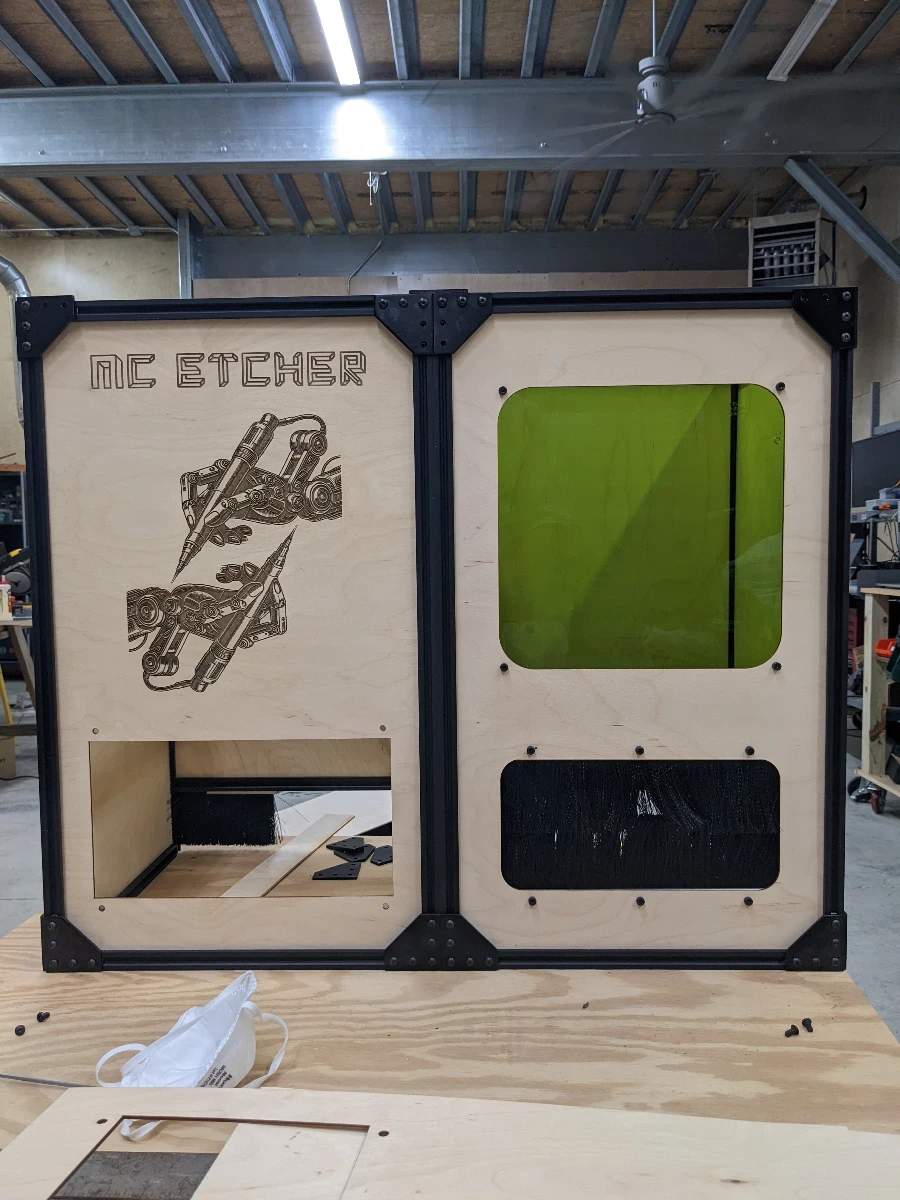
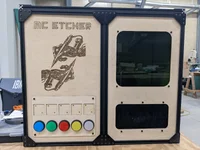
Frame coming along
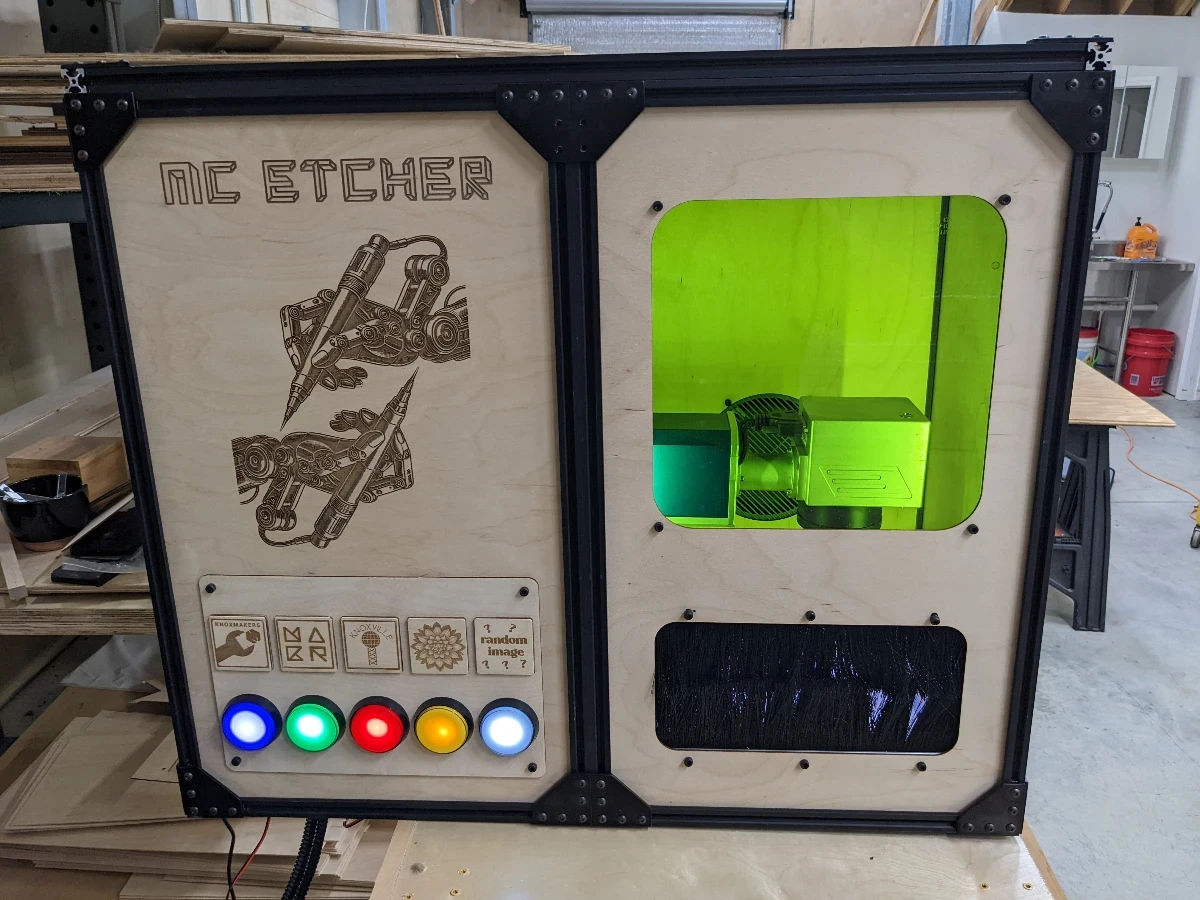
Viewing window with a coated acrylic to protect your eyes from fiber lasers. An opening to insert the coaster with sweeps for protection. The all important logo. An opening where we will add the buttons later in a modul…
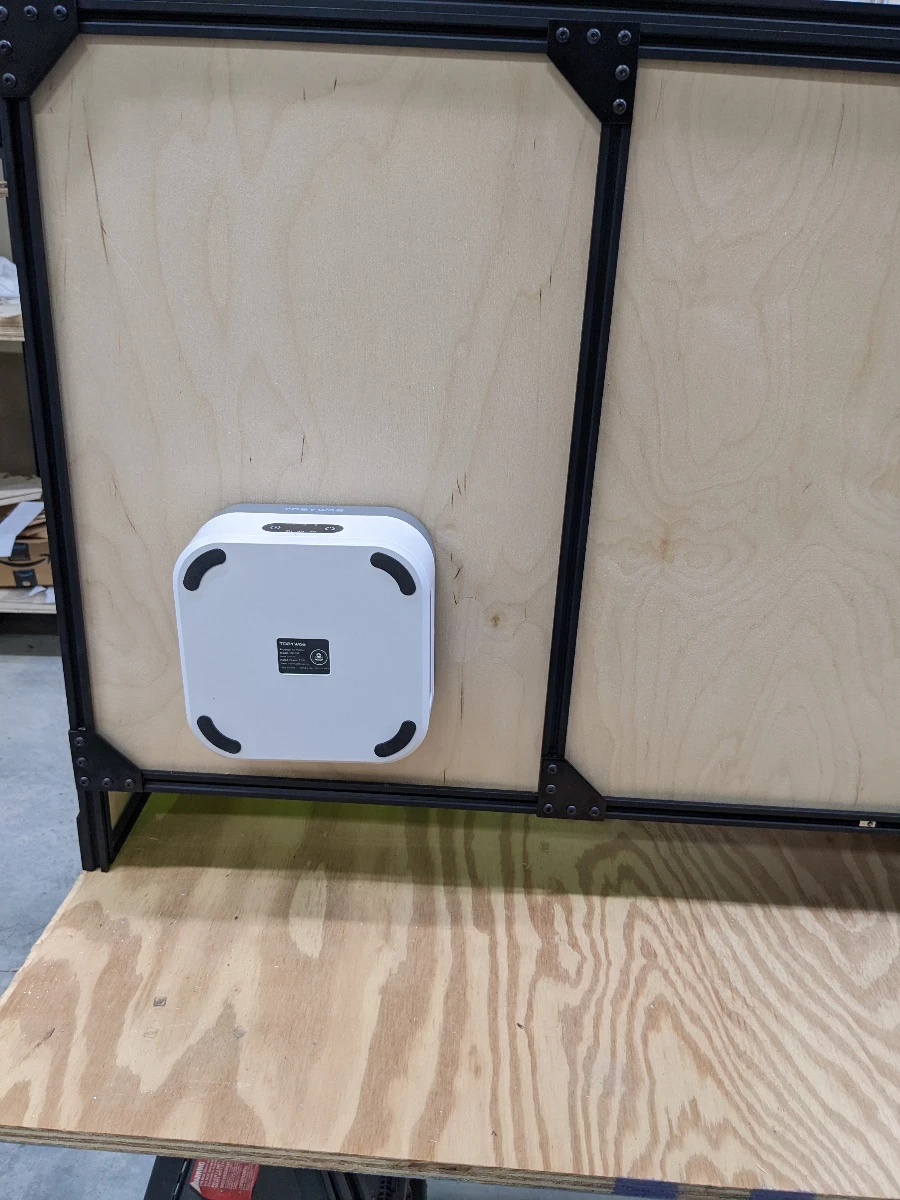
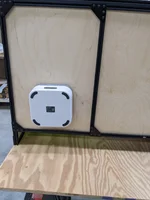
filtration
Found this air filter we can attach to the back of the bot to hopefully keep dust down. Spoiler: it does not work well.
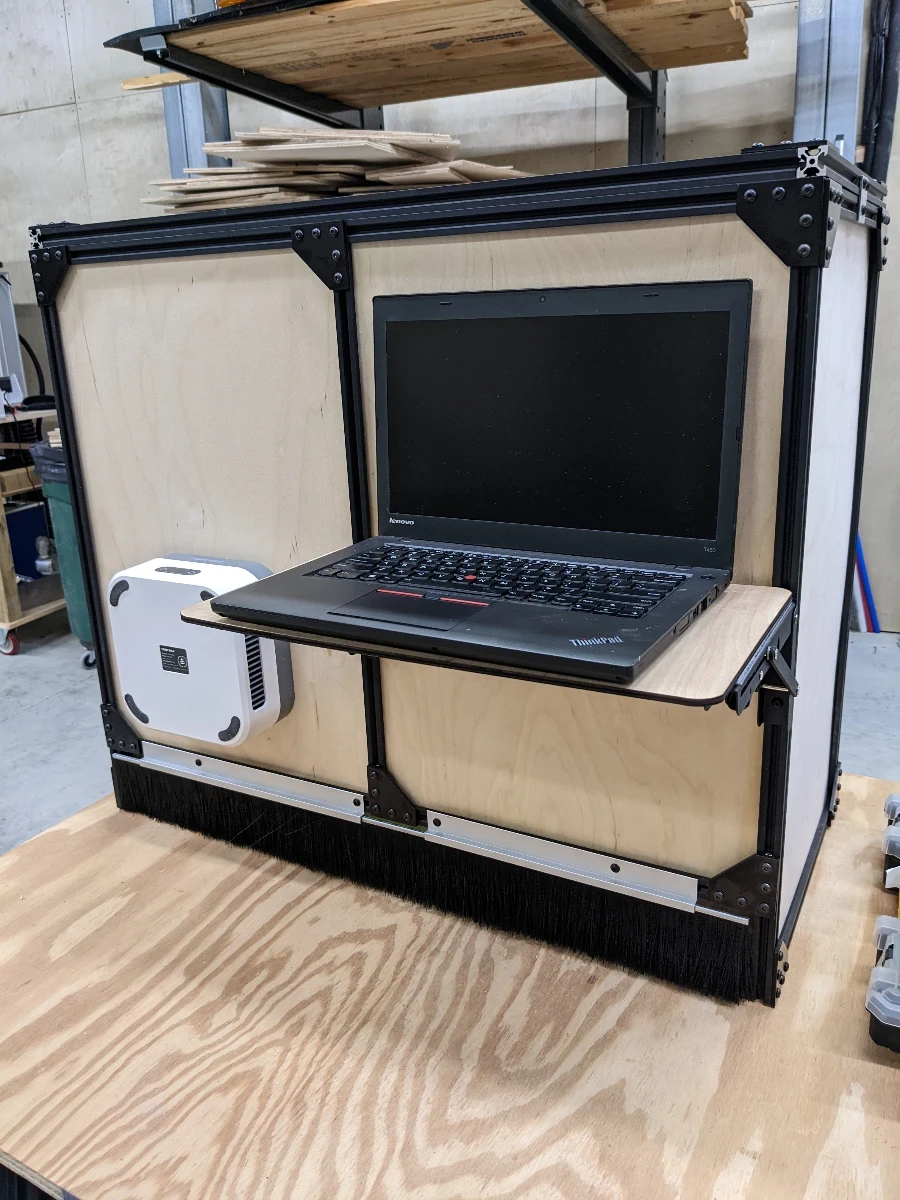
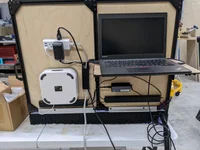
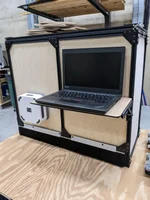
Laptop Shelf
Due to time constraints, I added some brackets and a shelf to hold a laptop on the back. Ideally this would be some single board computer mounted but we had a demo coming up!
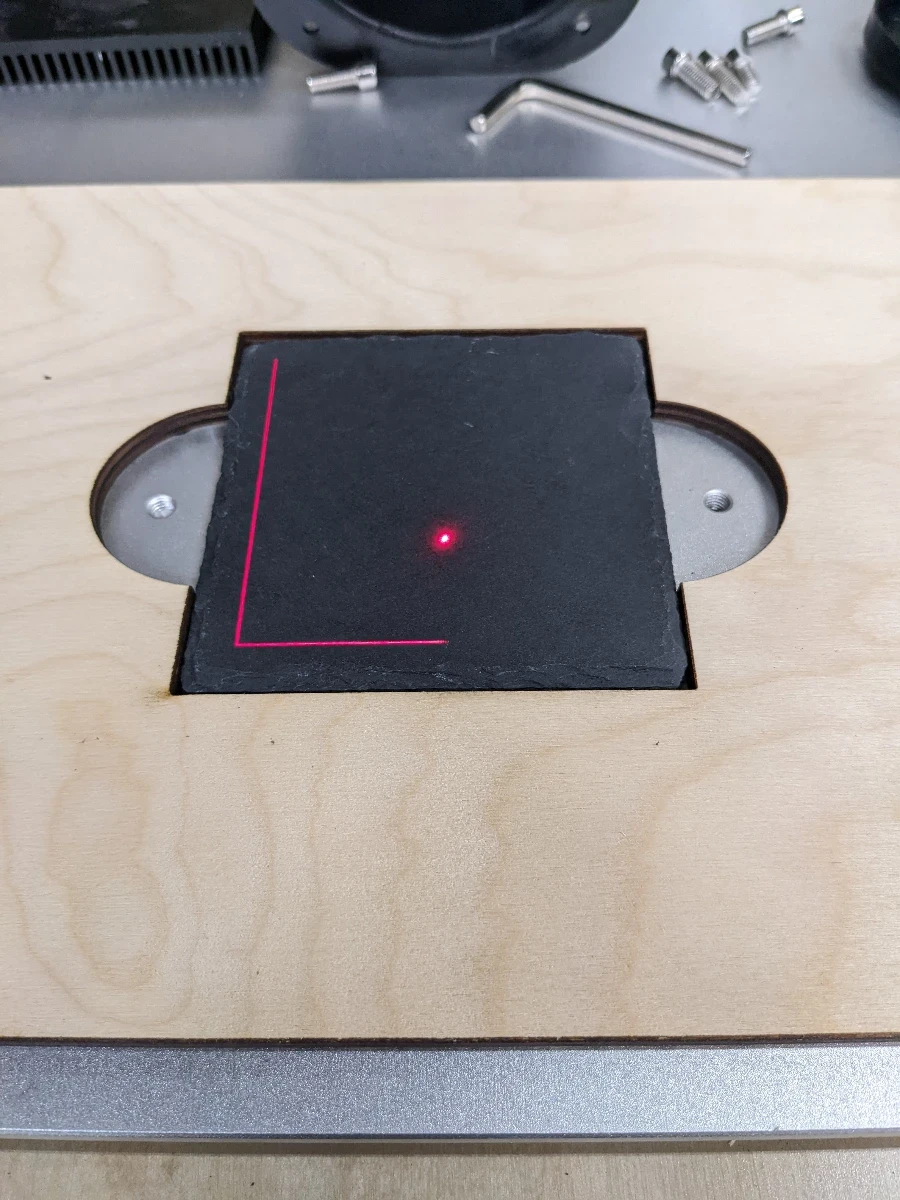
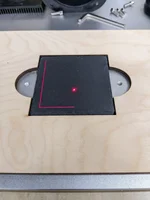
coaster jig
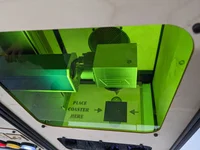
Created a jig so that the users can only put the coasters in at the right spot. Riiiiiiiiiiiiight?
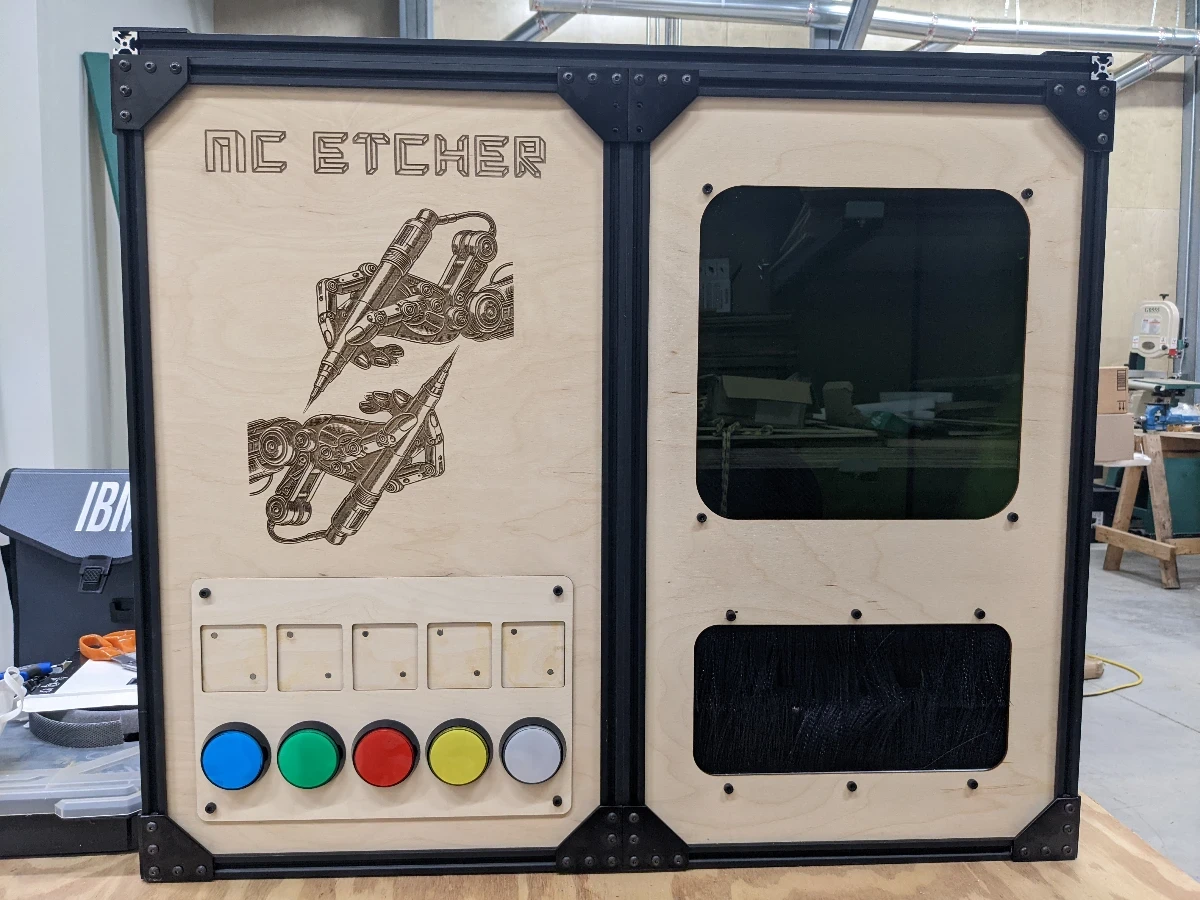
Button Module
Tracy and Issac built the module to add the buttons and electronics to run it and talk to the laptop.
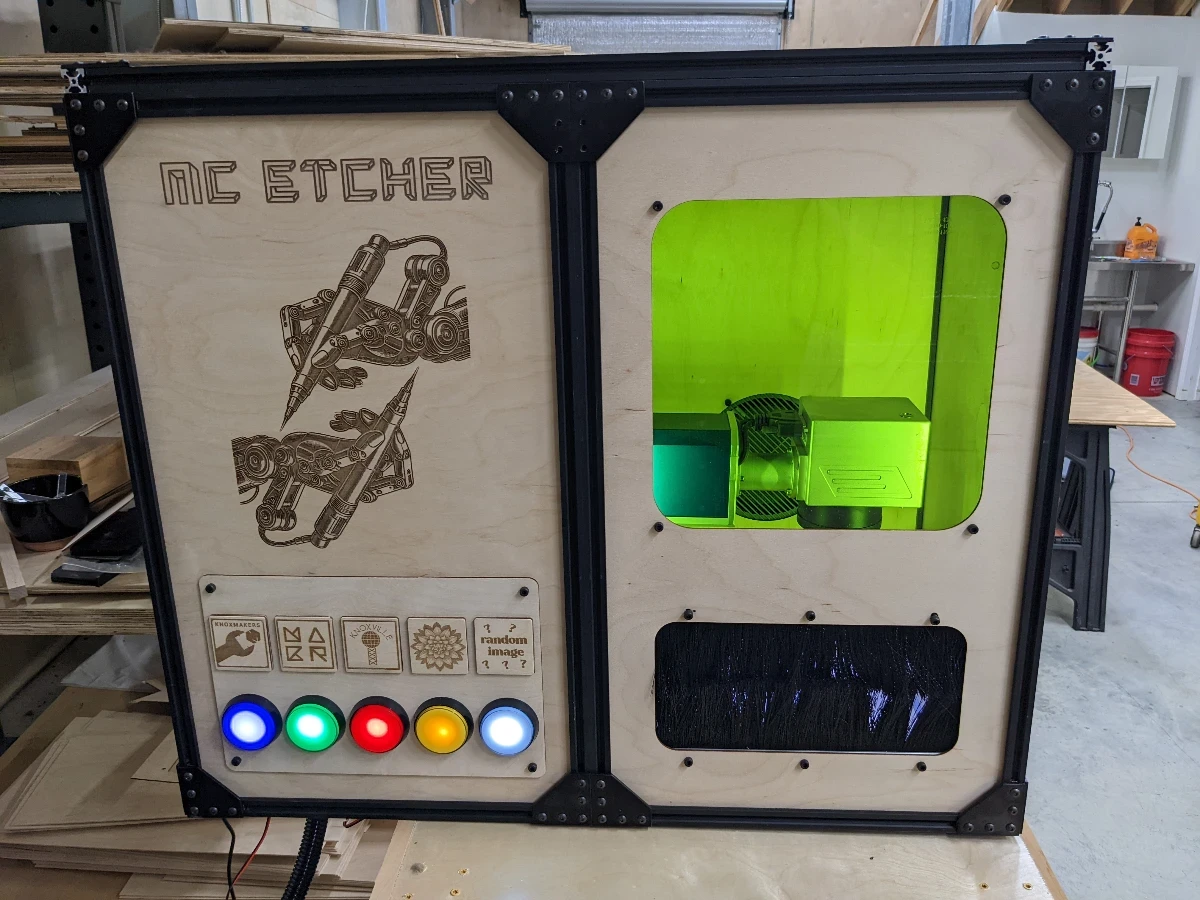
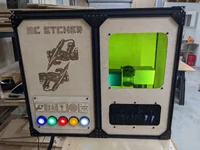
All ready to go
You can see it all charged up and the labels for the designs added. Tracy designed the labels above the buttons to be held on by magnets so we can change them for each event we take it.
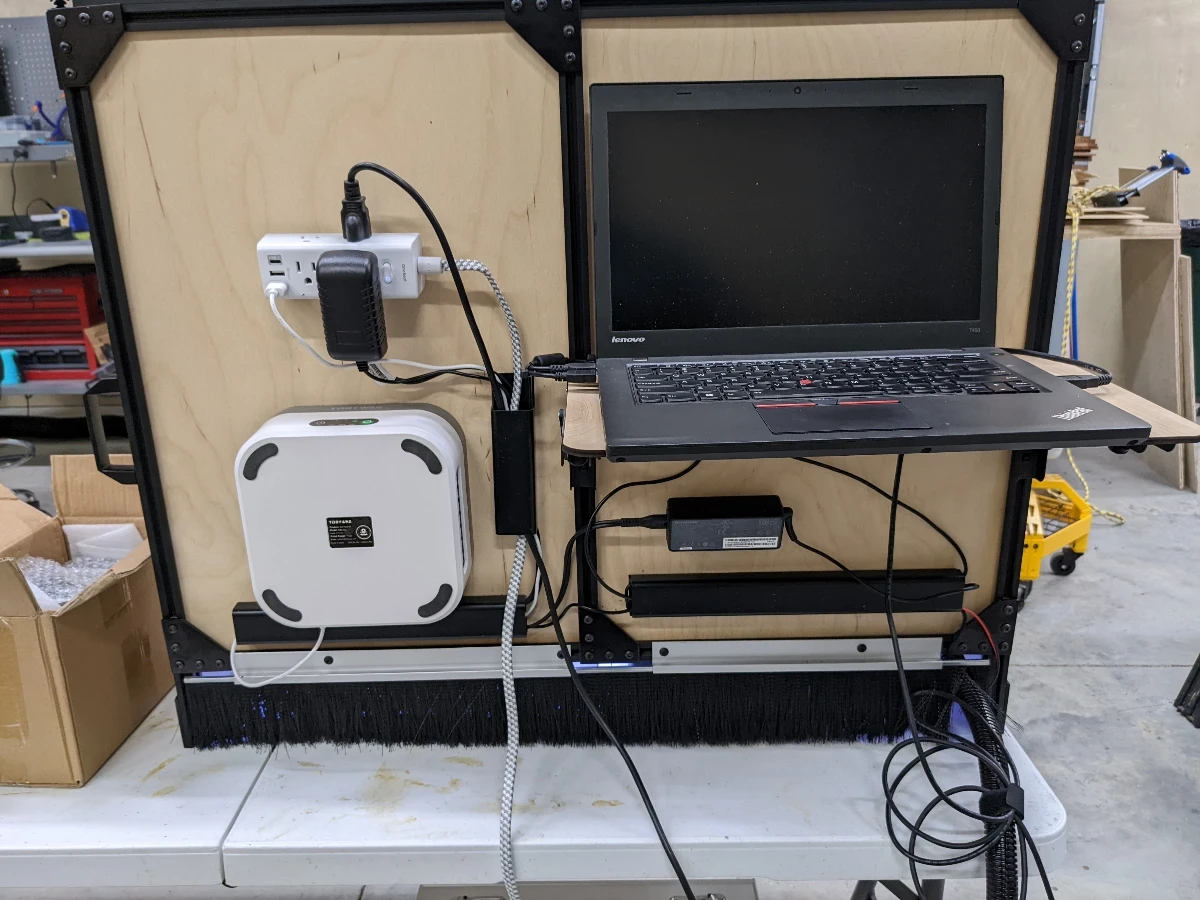
All wired up
Behold the beautiful wiring job.
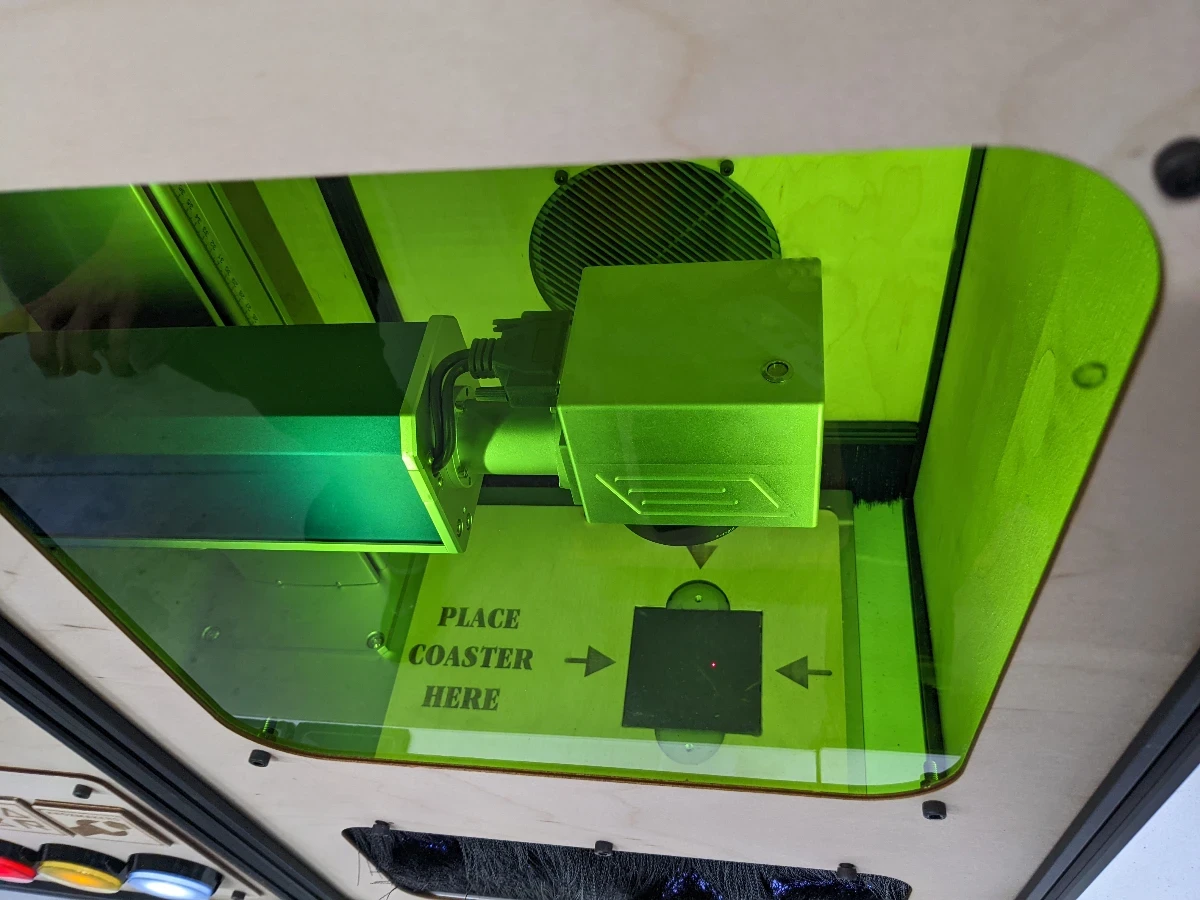
What the user sees
Here is what the user sees when they want to use the bot. Part of the electronics Issac added had internal lights.
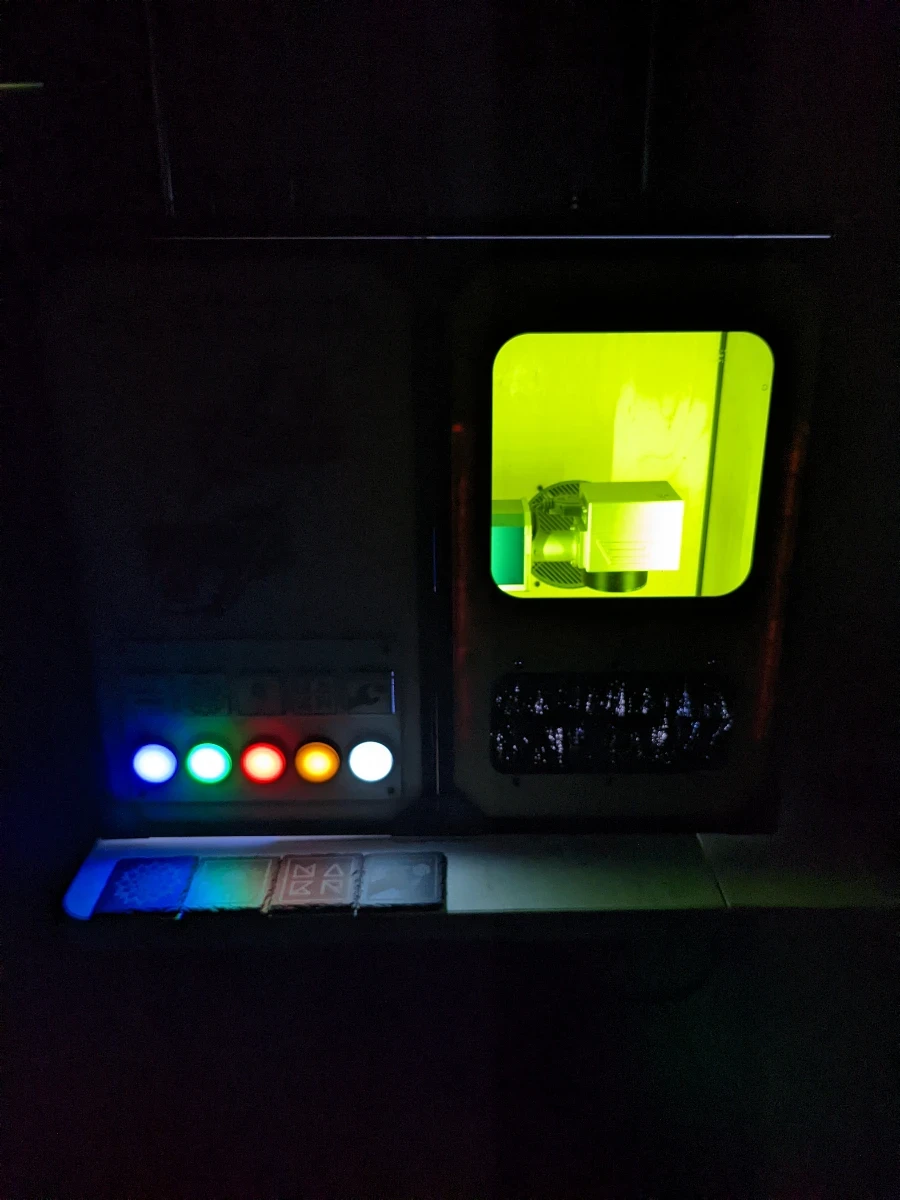
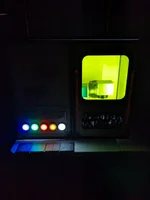
Bonus Spooky Shot
It really is pretty.
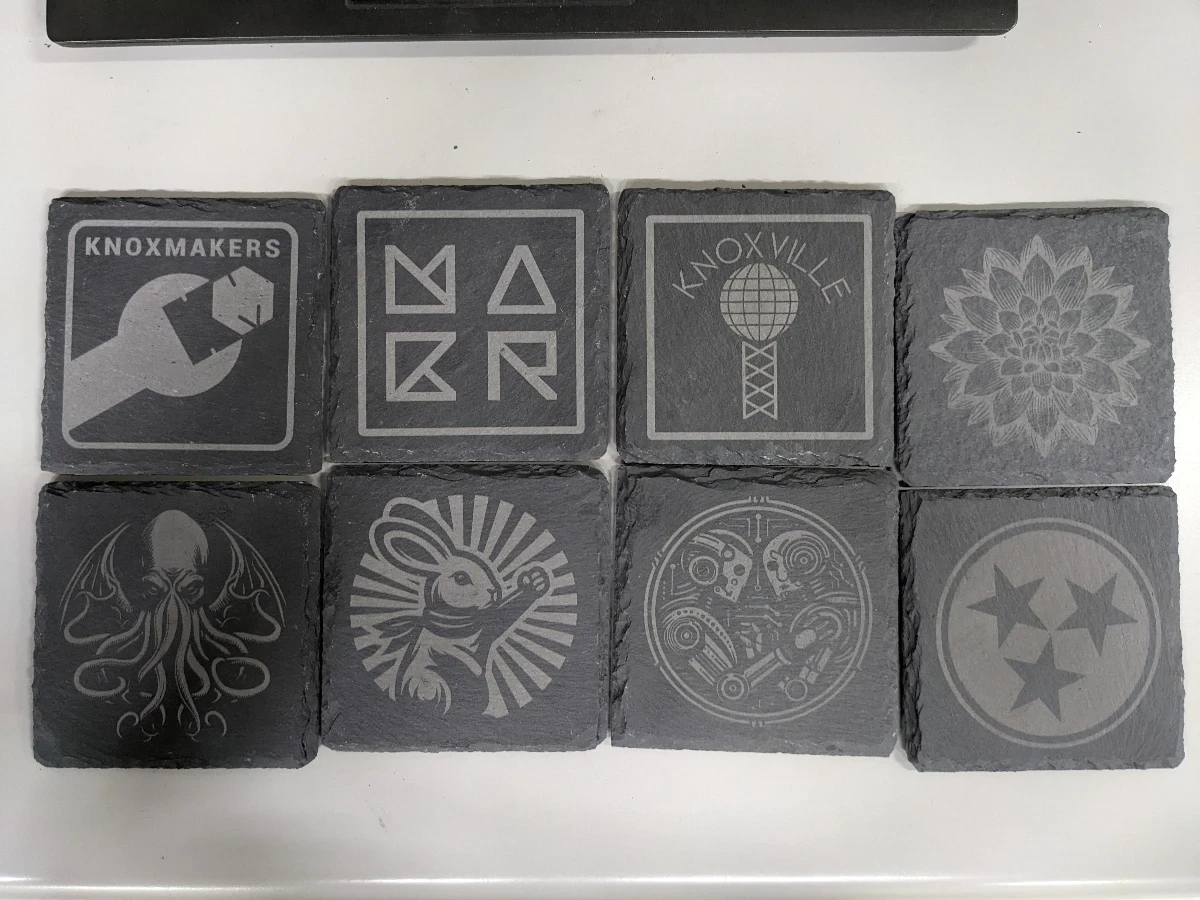
Example results
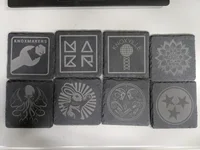
Some example results from the bot. Some of the designs only show up by hitting the random button.